DSCN0640.JPG
Comments(0)
|
DSCN0641.JPG
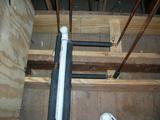
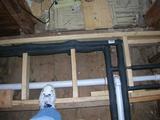
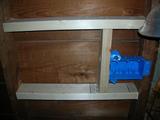
Pipes are now well insulated.
Comments(0)
|
DSCN0642.JPG
Comments(0)
|
DSCN0643.JPG
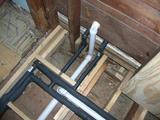
Keeps the hot pipe hot, the cold pipe from condensing, and all the pipes from making banging noises.
Comments(0)
|
DSCN0644.JPG
Comments(0)
|
DSCN0645.JPG

Comments(0)
|
DSCN0646.JPG
Comments(0)
|
DSCN0647.JPG
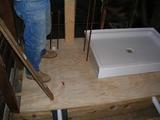
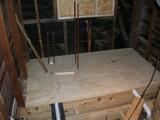
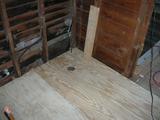
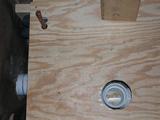
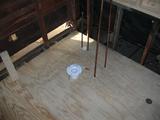
First segment of the floor temporarily in place. Making sure the shower pan lines up with the hole for the drain.
Comments(0)
|
DSCN0648.JPG
Comments(0)
|
DSCN0649.JPG
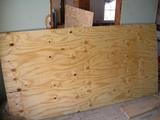
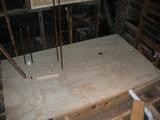
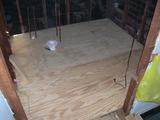
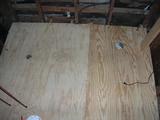
First segment of the floor down.
Comments(0)
|
DSCN0650.JPG
Comments(0)
|
DSCN0651.JPG
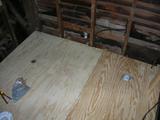
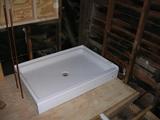
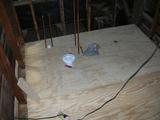
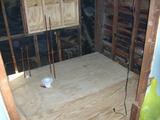
And the second segment of the floor down. The floor is now complete.
Comments(0)
|
DSCN0652.JPG
Comments(0)
|
DSCN0653.JPG
Comments(0)
|
DSCN0654.JPG

Comments(0)
|
DSCN0655.JPG
Comments(0)
|
DSCN0656.JPG
Comments(0)
|
DSCN0657.JPG
Comments(0)
|
DSCN0658.JPG
Comments(0)
|
DSCN0659.JPG
Comments(0)
|
DSCN0660.JPG
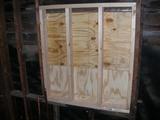
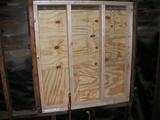
The plywood covering the outside has been repositioned slightly. Now in its permanant position.
Comments(0)
|
DSCN0661.JPG
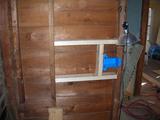
Extra bracing for the switch box.
Comments(0)
|
DSCN0662.JPG
The switchbox will hold three switches. One for the lights in the main part of the bathroom, one for the shower light, and one for the vent fan.
Comments(0)
|
DSCN0663.JPG
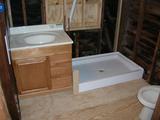
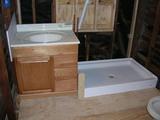
All the fixtures in place.
Comments(0)
|
DSCN0664.JPG
Of course, these will be removed one last time to put down tile and set the shower pan.
Comments(0)
|
DSCN0665.JPG
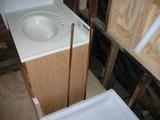
Yes, there's a lot of room behind the vanity. There will be plumbing work behind there, but the space below the top of the vanity will otherwise be empty space. There will be shelves and cubboards above it, along with a medicine cabinet.
Comments(0)
|
DSCN0666.JPG
The 2x4 on the floor there is where the wall between the shower and vanity will go. And yes, there's not much room. It's about as tight a fit as it could get.
Comments(0)
|
ics&theme=0ics&theme=0ics&theme=0ics&theme=0ics&theme=0ics&theme=0ics&theme=0ics&theme=0ics&theme=0ics&theme=0ics&theme=0ics&theme=0


