DSCN0505.JPG
More joists and supports added for the floor. There will be additional 2x4's added perpendicular to the joists over the main drain run to give more support in that area.
Comments(0)
|
DSCN0506.JPG

Comments(0)
|
DSCN0507.JPG
Comments(0)
|
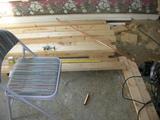
DSCN0508.JPG
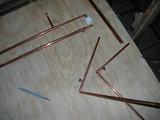
Laying out the copper. This will be put together and sweated on top.
Comments(0)
|
DSCN0509.JPG
All the pipes will be pressure tested before the floor is put in place.
Comments(0)
|
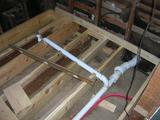
DSCN0510.JPG
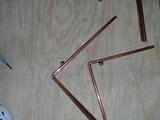
Putting it all together on top makes it easier to assure that the pipes line up with the holes.
Comments(0)
|
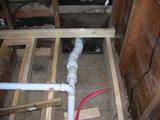
DSCN0511.JPG
Once completed, the floor will be moved out of the way and the pipes will be set underneath it.
Comments(0)
|
DSCN0512.JPG
When the pipe assembly is properly set in place, the floor will then be lowered over the pipes and nailed down.
Comments(0)
|
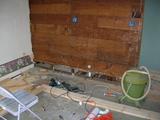
DSCN0513.JPG
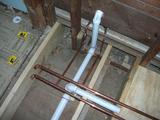
The tops of the joists will be notched for the feed pipes, just like the drains were.
Comments(0)
|
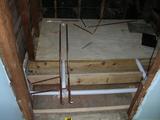
DSCN0514.JPG
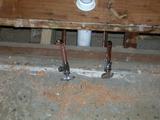
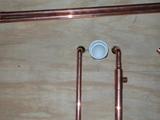
Here are the feed pipes and the drain for the sink that will go in the bedroom.
Comments(0)
|
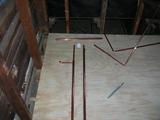
DSCN0515.JPG
The drain will be capped in here and the feed pipes will terminate at valves until a sink is put in here later. Lots of work to do in here before we're ready for the sink.
Comments(0)
|
DSCN0516.JPG
Sawdust, tools, and 2x4's. And some copper pipe pieces. And a chair.
Comments(0)
|
605pics&theme=0605pics&theme=0605pics&theme=0605pics&theme=0605pics&theme=0605pics&theme=0605pics&theme=0605pics&theme=0605pics&theme=0605pics&theme=0


