DSCN6626.JPG
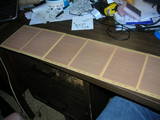
These are the perfboards I ordered for the sign. Although I would have preferred a busboard layout, with multiple connected holes and rails for the power and ground, this will be sufficient for this project, and they were pretty cheap.
Comments(0)
|
DSCN6641.JPG
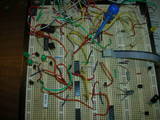
My messy breadboard. You can ignore MOST of that, I always have several different projects going on, and I use this board for all of it.
Comments(0)
|
DSCN6643.JPG
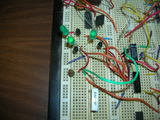
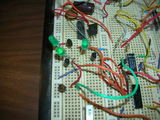
Of significance here are the three green LEDs. They make up the first 3 columns of the first row. The white wires are from the parallel port, which connect to a resistor, which feed into the 74HCT04, which is an inverter circuit. This flips the value of the signal (which requires the software to output the inverse of what I actually want), but it also amplifies the signal and provides a clean signal for the next stage of the circuit.
Comments(0)
|
DSCN6644.JPG
Comments(0)
|
DSCN6646.JPG
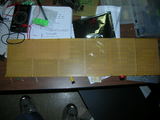
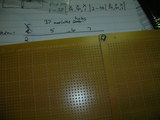
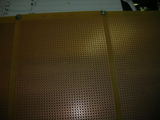
All of the perfboards are now screwed together to make the base for the sign. These boards will only hold the LEDs and the transistors that drive them. The control circuitry will be on a couple of separate busboards.
Comments(0)
|
DSCN6647.JPG
Comments(0)
|
DSCN6648.JPG
Comments(0)
|
DSCN6650.JPG
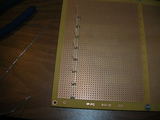
The LEDs are spaced 6 holes apart, both horizontally and vertically. All of the cathode leads in a column are common and all of the anode leads in a row are common. To light up a single LED, you provide a signal to the row and open a transistor to allow the current to flow to ground through the selected column. By providing power to only one column at a time and refreshing the entire display about 120 times per second, you get the illusion of the entire display being lit at once.
Comments(0)
|
DSCN6651.JPG
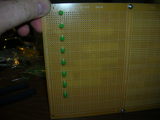
A single column on the front of the display.
Comments(0)
|
DSCN6652.JPG
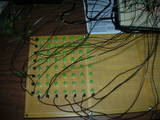
Here I've completed an array of 7x8 LEDs. The end result will be far less messy and the wires you see will feed into control circuity that will be either directly to one side or below the sign. Right now, the control circuity is still on the breadboard, so I have everything connected there right now.
Comments(0)
|
DSCN6653.JPG
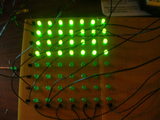
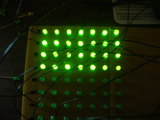
A non-flash picture of the sign. This is actually a long exposure of the sign scrolling, so it's not particularly useful.
Comments(0)
|
DSCN6654.JPG
Comments(0)
|
DSCN6655.JPG
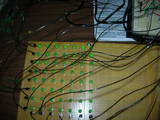
I tried a picture with the flash on, which results in a much shorter exposure time, but makes it hard to see the lights.
Comments(0)
|
DSCN6656.JPG
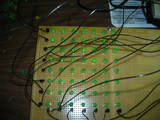
Comments(0)
|
DSCN6657.JPG
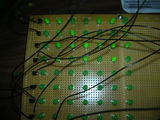
Comments(0)
|
DSCN6658.JPG
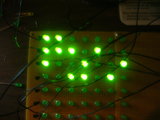
Ok. I got smart and just slowed the sign down so it would only display one frame during the time it required me to take a picture. I filled up the display buffer with random data, so this isn't a meaningful image, but the scrolling works perfectly, at any speed I choose to display it at.
Comments(0)
|
DSCN6659.JPG
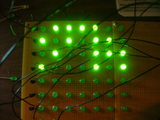
In practice, I will likely have the scrolling fairly slow, such that the entire display will take about 2 seconds or more to scroll past. That way, no matter how slow my cam is updating, people will be able to see the entirety of the message they send. I will restrict the size of the messages that get sent to the sign, and I might also do a realtime change of the scrolling speed based on the relay update rate of the webcam. The future will tell.
Comments(0)
|

